Intro
Scheme, first look
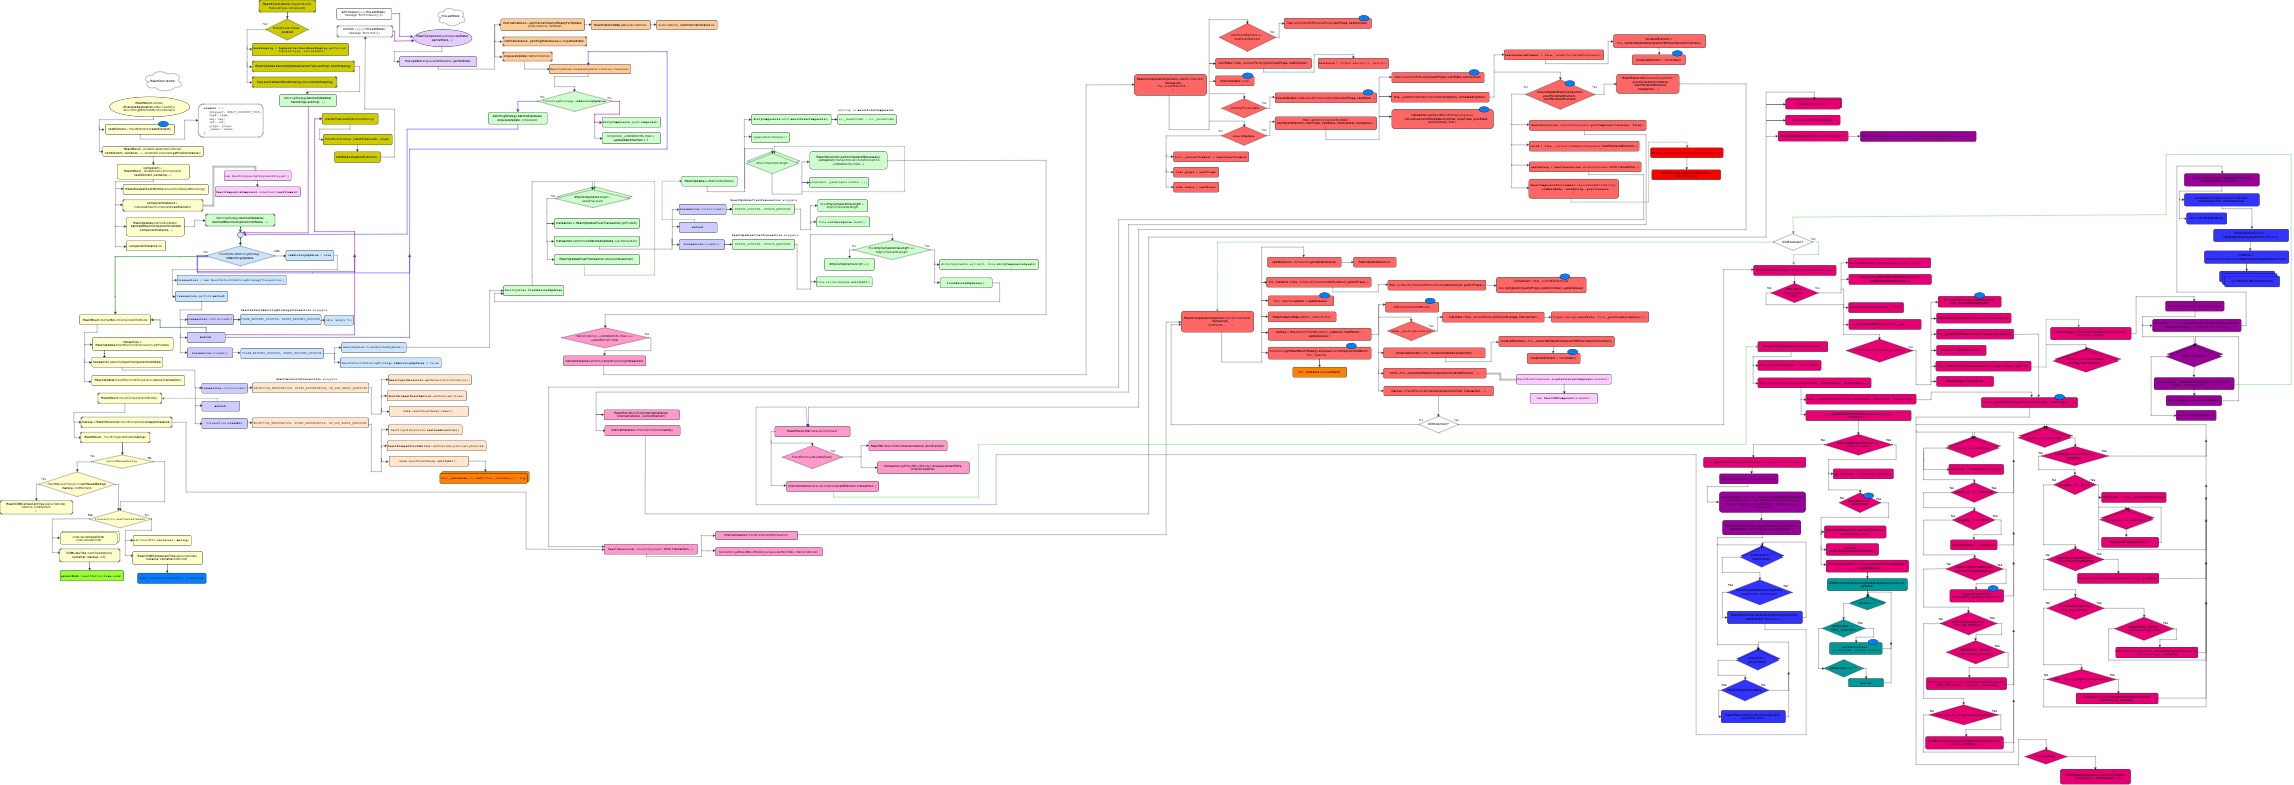
Intro.0 All scheme (clickable)
So… have a look. Take your time. Overall it looks complex, but in fact, it describes only two processes: mount and update. I skipped unmount because it’s kind of a “reversed mount” and removing it simplified the scheme. Also, this is not a 100% match of the code, but only major pieces which describe the architecture. In total, it’s about 60% of the code, but the other 40% would bring little visual value. So again, for simplicity, I omitted it.
On first look, you probably noticed many colors in the scheme. Each logic item (shape on the scheme) is highlighted in its parent module’s color. For example, methodA will be red if it’s called from moduleB, which is red. Below is a legend for the modules in the scheme along with the path to each file.
Intro.1 Modules colors (clickable)
Let’s put them into a scheme to see the dependencies between modules.
Intro.2 Modules dependencies (clickable)
As you probably know, React is built to support many environments.
- Mobile (ReactNative)
- Browser (ReactDOM)
- Server Rendering
- ReactART (for drawing vector graphics using React)
- etc.
As a result, a number of files are actually bigger than it looks in the scheme above. Below is the same scheme with multi-support included.
Intro.3 Platform dependencies (clickable)
As you can see, some items seem doubled. It shows that they have a separate implementation for each platform. Let’s take something simple like ReactEventListener. Obviously, its implementation will be different for different platforms! Technically, as you can imagine, these platform dependent modules should be somehow injected or connected to the current logic flow and, in fact, there are many such injectors. Because their usage is part of a standard composition pattern, I chose to omit them. Again, for simplicity.
Let’s learn the logic flow for React DOM in a regular browser. It’s the most used platform and it completely covers all of React’s architecture ideas. So, fair enough!
Code sample
What is the best way to learn the code of a framework or library? That’s right, read and debug the code. Alright, we are going to debug two processes: ReactDOM.render and component.setState, which map on mount and update. Let’s look at the code we can write to start. What do we need? Probably several small components with simple renders, so it will be easier to debug.
class ChildCmp extends React.Component {
    render() {
        return <div> {this.props.childMessage} </div>
    }
}

class ExampleApplication extends React.Component {
    constructor(props) {
        super(props);
        this.state = {message: 'no message'};
    }

    componentWillMount() {
        //...
    }

    componentDidMount() {
        /* setTimeout(()=> {
            this.setState({ message: 'timeout state message' });
        }, 1000); */
    }

    shouldComponentUpdate(nextProps, nextState, nextContext) {
        return true;
    }

    componentDidUpdate(prevProps, prevState, prevContext) {
        //...
    }

    componentWillReceiveProps(nextProps) {
        //...
    }

    componentWillUnmount() {
        //...
    }

    onClickHandler() {
        /* this.setState({ message: 'click state message' }); */
    }

    render() {
        return <div>
            <button onClick={this.onClickHandler.bind(this)}> set state button </button>
            <ChildCmp childMessage={this.state.message} />
            And some text as well!
        </div>
    }
}

ReactDOM.render(
    <ExampleApplication hello={'world'} />,
    document.getElementById('container'),
    function() {}
);
So, we are ready to start. Let’s move on to the first part of the scheme. One by one, we will go through all of it.


